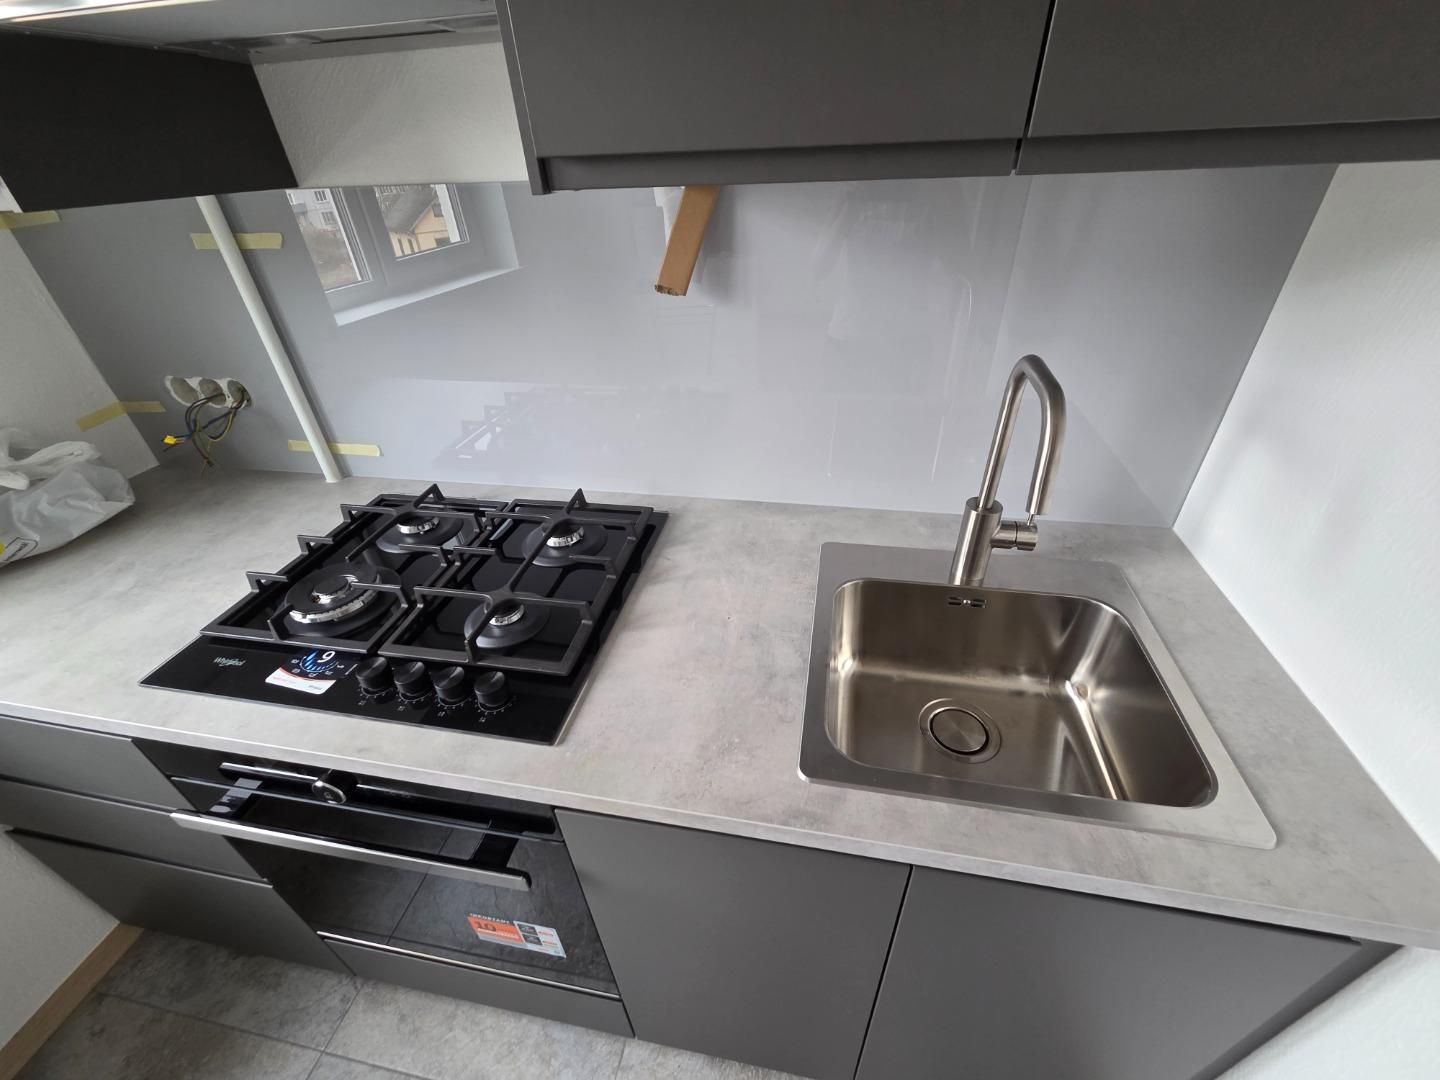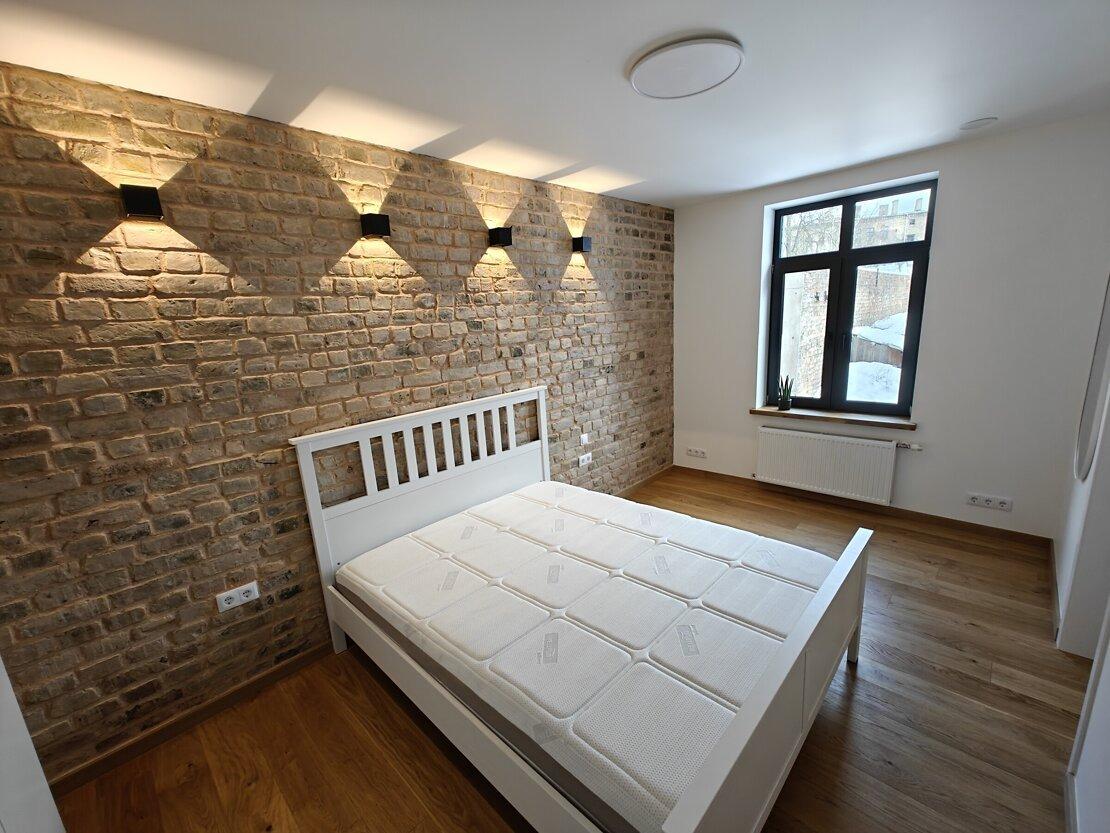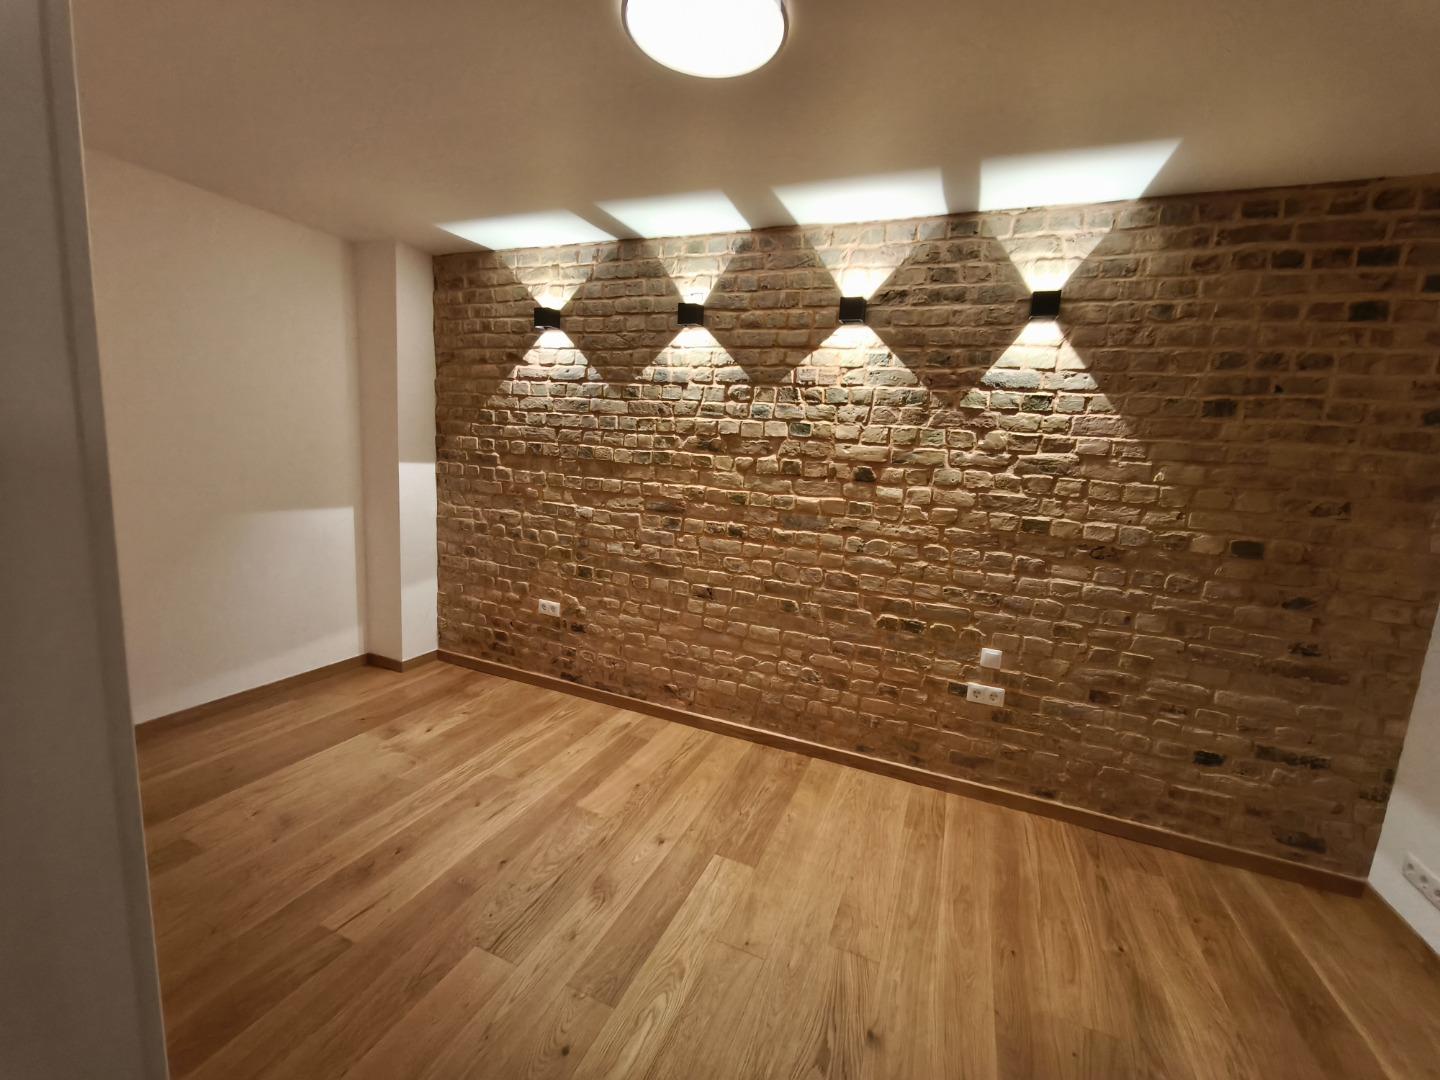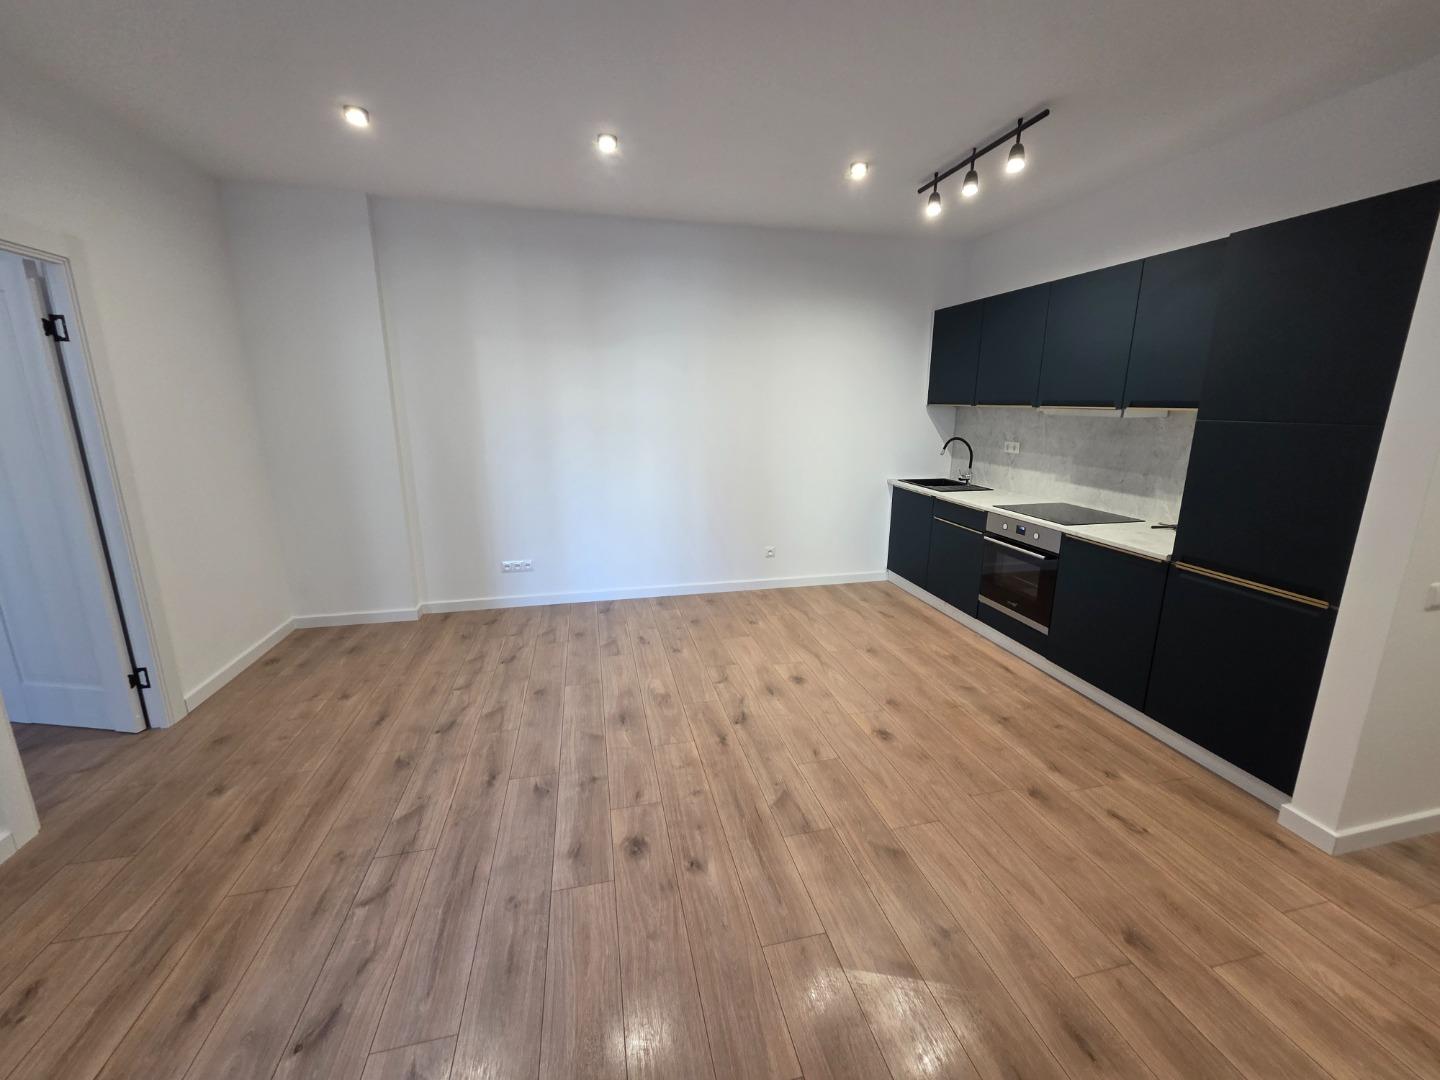
A room can look finished while still carrying the dust and residue of renovation. The floor may be newly installed, the walls painted and the fittings in place, yet ledges, door frames and corners still need attention. The last clean works best when it is planned as a separate stage after the remaining construction tasks.
Beautiful Cleaning’s documented service areas include both renovation and post-renovation cleaning. That allows you to discuss the handover as part of the wider property project. It does not remove the need to agree exactly what the cleaning covers or to pass on care instructions for new materials.
Confirm that dust-producing work has ended
Before setting the final cleaning date, ask what remains on the renovation list. Drilling, cutting, sanding or another installation can reintroduce dust after a room has been cleaned. If these tasks are still expected, decide whether you need an intermediate clean or should wait for the final one.
Allow for the actual instructions supplied with paint, sealants, adhesives and other finishes. “Work completed” does not always mean that every surface is ready for wet cleaning or everyday use. The relevant product or installer instructions should guide the timing.
Make a short handover list with the renovation team. Identify unfinished details and any work that could affect cleaned areas. This keeps a cleaning visit from becoming a substitute for resolving installation issues.
Arrange removal before cleaning
Large offcuts, dismantled materials and packaging need their own removal arrangements. Clarify who handles these and what will remain for the cleaners. Do not assume a post-renovation cleaning quotation includes transport or disposal of building waste.
The client’s archived profile lists dismantling, including disposal, among the available renovation services. Ask how that applies to your project and keep the removal scope separate enough to understand. Access to a shared stairwell, the route out of the apartment and parking can all matter to the arrangements.
Clear routes through the rooms and identify materials being kept. Spare tiles, flooring and paint may be useful later and should not be confused with discarded items.
Give the cleaners a surface list
Tell the cleaning team what is new and what has been retained. A property may combine painted walls, laminate, tiles, stone-effect surfaces, metal fittings, glass and upholstery. The appropriate method depends on the material and its condition.
Share labels or care information when available. Point out areas where adhesive, grout, paint or another residue is visible and explain what it is if you know. Avoid asking for an unidentified mark to be removed “by any means”; discuss the surface and the residue first.
Photographs help define the scope. Include overall views of each room and close-ups of the areas needing special attention. New finishes should be recognizable rather than hidden under a broad description such as “builders’ dust everywhere.”
Agree a complete but specific checklist
A useful cleaning checklist covers the surfaces involved, rather than assuming that “deep clean” means the same thing to everyone. Discuss accessible ledges, door frames, doors, fittings, glass and floors. Identify which cupboards, appliances or furniture need attention and whether their interiors are included.
Which rooms and surfaces will be cleaned?
Will protective coverings be removed, and by whom?
Are windows and frames included?
Are retained furnishings part of the job?
What needs special care or should remain untouched?
Which remaining marks need assessment before treatment?
Use the cleaning catalogue as a starting point. The agreed quotation should define the particular tasks and exclusions for your property.
Keep the final inspection practical
Walk through the rooms before moving furniture back. Check the agreed cleaning areas in ordinary light and identify anything needing discussion. Separate a cleaning issue from a damaged finish or an unfinished installation: a mark may need the renovation team’s attention rather than more cleaning.
Keep care instructions accessible for the first weeks of use. Ask about the recommended approach for maintaining the new surfaces and avoid introducing unfamiliar products without checking suitability. There is no single cleaning method that applies to every finish in a renovated apartment.
If furnishings are returning from storage, consider their condition too. The archive includes upholstery and carpet cleaning services, which can be discussed separately if retained items need attention.
Understand indicative pricing
The archived client catalogue lists post-renovation cleaning at €3–8 per m². This is indicative pricing, not a fixed package or a guarantee for your apartment. Final pricing depends on size, condition, requirements and complexity, including what residue is present and what the agreed tasks cover.
Ask how the area is calculated and which work is included. A post-renovation rate should not automatically be substituted for every separate task, such as furniture or appliance cleaning. For more context, see the apartment cleaning cost guide.
Make one clear handover brief
Provide the approximate size, rooms, renovation tasks completed, new materials, current photographs and intended move-in date. Explain who will provide access and whether the apartment will be empty. These details help plan a clean that fits the actual stage of the work.
If renovation is still being scoped, include the handover in your renovation discussion. When the property is ready to assess, request a quote for the remaining tasks. The aim is a defined sequence: finish the work, resolve the handover details, clean the agreed surfaces, then return the property to everyday use.